


Inspiration
mySewnet Studio
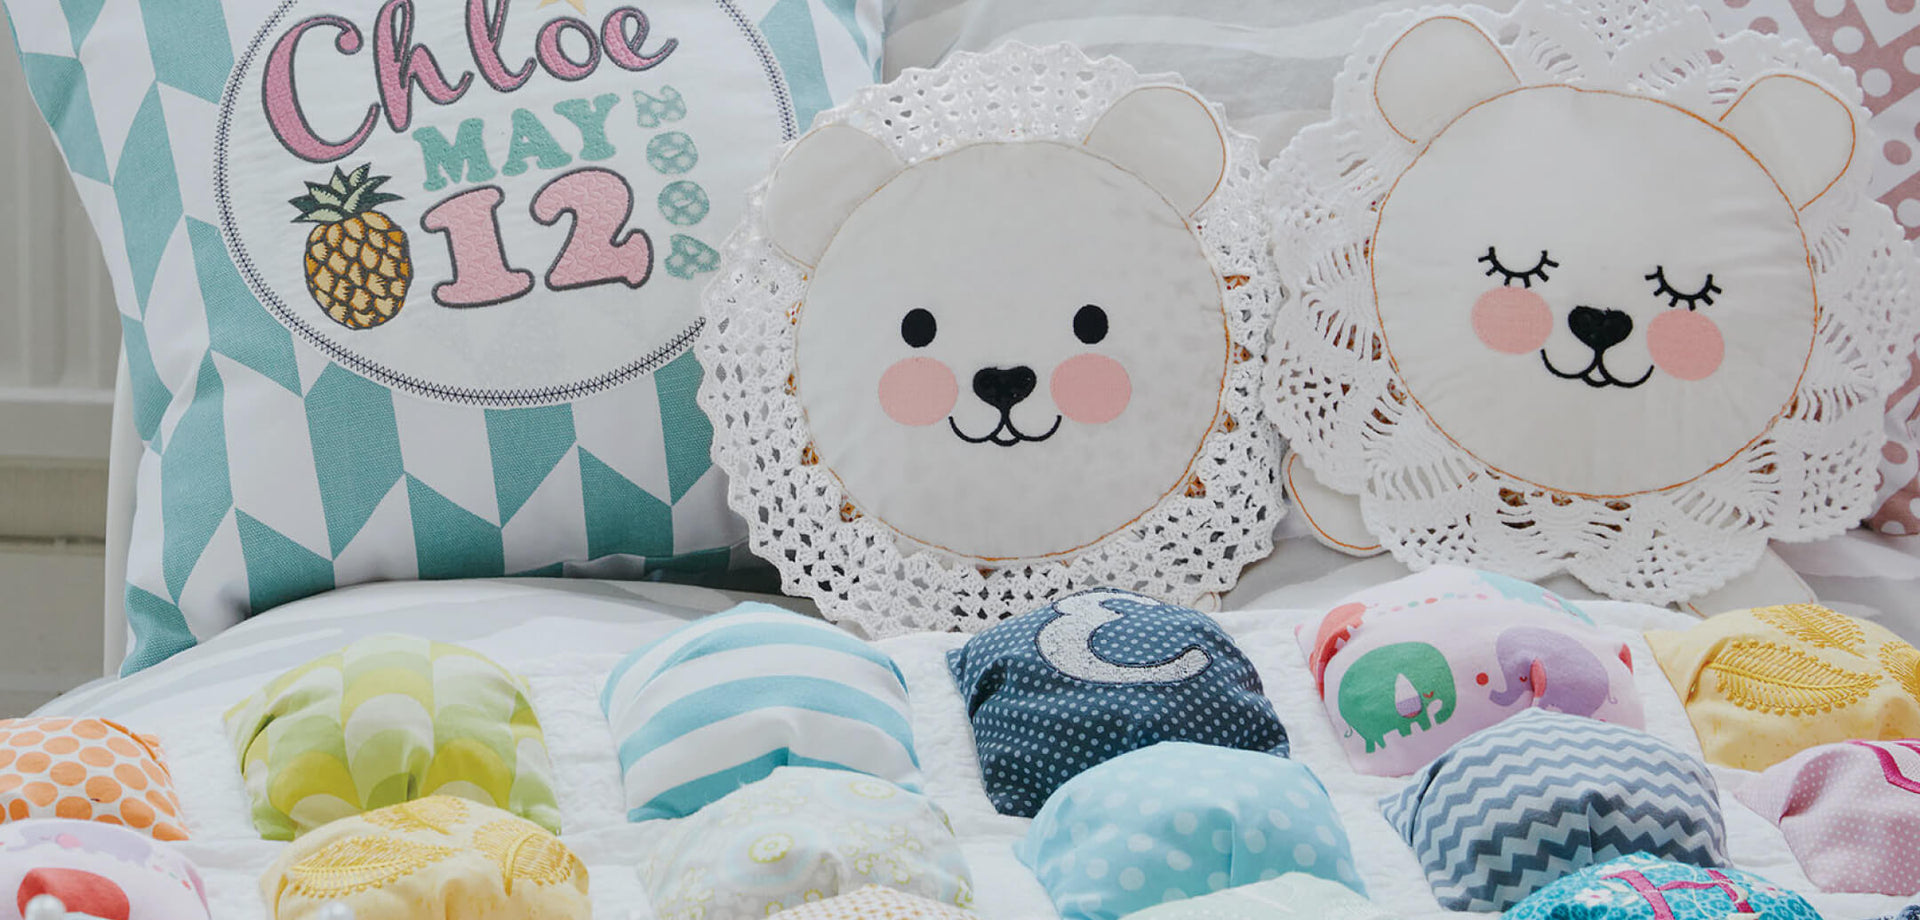
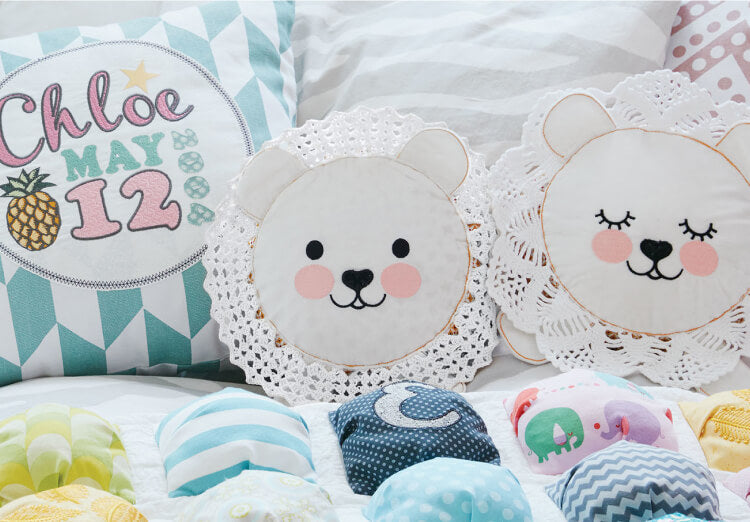
Visit our world of inspiration and knowledge where you can find hundreds of embroideries and sewing projects at any skill level.

Hundreds of Projects
Get step-by-step project instructions and learn how to make the most of your machine in this robust resource center.
